Reviewed By: Kacie La
Making candles is a fun and fairly easy craft activity that’s perfect for a rainy afternoon. We’re going to show you in detail how to go about making your very own soy wax candles, which burn cleaner and are easier to make than those made with paraffin wax.
Shopping list
Before you begin, you’ll need to attain a few candle making supplies. Here’s what you’ll need:
- Containers – These are your candle holders, so pick some you like that will not burn or melt. Glass is ideal, and mason jars are an excellent choice
- Soy wax flakes – You can buy any size, depending on how many candles you want to make. A 2-2½ kilo bag should more than cover your first candle making venture
- Candle wicks – You could either buy packs of individual wicks with weight tabs attached to one end, or if you plan to make a lot of candles and want to be more economical, buy a spool and cut the wicks yourself, attaching them to the base of your candle jar with tape
- Scissors
- Chopsticks, pencils, bag clips, or skewers – There are a lot of things you could use here, but basically you are after an item that will span the width of your containers and hold the wicks in place while the wax dries
- Essential oils – If you want your candles to be scented, you’ll need to pick up some essential oils. Check out our range here.
- Rubber spatula
- Two metal pots – One pot should be slightly larger than the other, and it helps if the smaller one has a spout for easier, more accurate pouring of the wax
Method
Now that you have all the necessary materials, you can get started! Simply follow these steps to make a great smelling soy candle:
- If you’re using a spool, then begin by cutting the wicks so that they are 10cm longer than the height of the container. Tie a knot on one end and tape it to the centre of your candle holder.
- After securing all your wicks to the glass containers, it’s time to melt your wax. Boil water in the larger pot and fill the smaller pot with wax flakes. When measuring amounts, keep in mind that the wax flakes will melt down to half of their solid volume.
- Once you’ve melted the wax, add a few drops of any essential oils you’d like to use for scents. If you’re after a stronger scent, just add more oil. It’s crucial though to keep within the recommended amounts for candle making as some essential oils are highly flammable!
- Now that your wax is ready, it’s time to pour it into the glass containers. Ensure that you leave at least 2.5cm between the wax level and the top of the container.
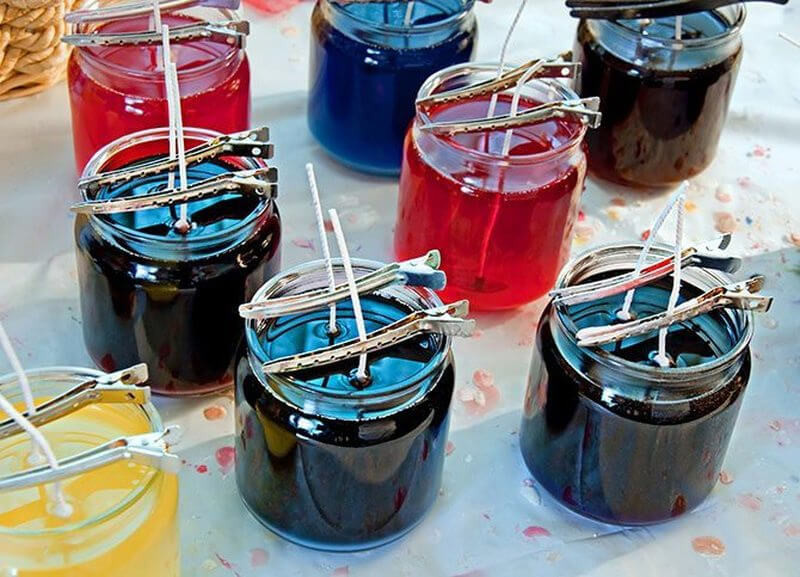
- With the wax poured, all you have left to do is centre the wick while it sets in the cooling wax. This can be achieved by twisting the wick around a chopstick or similar item, or by clipping it with a bag clip. Let the chopsticks, skewers, pencils, or whatever item you chose, rest on the top of the container.
- Wait for the wax to dry.
- Clean up. If you happened to spill any soy wax on your clothes, don’t panic as it washes out with ease and shouldn’t stain. To clean the pots, just use hot water to remove any remaining wax. Easy!
There you have it, your own soy candle. The wonderful thing about candle making is that, besides the natural reward you’ll feel upon completion, soy candles make excellent gift. It’s especially special to receive a handmade gift in a world where we make so few physical things.


